LOOKING FOR CRAFTER'S CASTLE CHALLENGE?
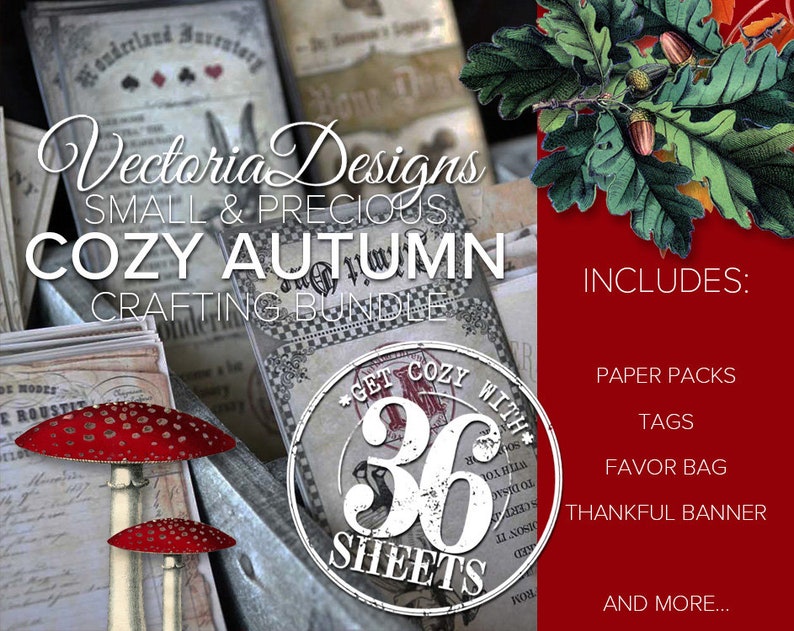
I designed a teabag dispenser that will perfectly hold the teabag packets from the Small & Precious Cozy Autumn Bundle from VectoriaDesigns. My video tutorial will show the making of both of them. To go along with the video I have provided the written directions along with a diagram to help in making the teabag dispenser box.

Wirtten directions to accompany my video tutorial
Cut a 12x12 piece of cardstock to 11 1/2" x 10 3/8"
With cardstock on scoring board 11 1/2" across the top
Score at 2 5/8", 5 1/2", 8 1/8", and 11"
Turn clockwise with 10 3/8" across the top and the 1/2" score line at the bottom.
Score at 1/2" full length
2 7/8" to the second score line
3 3/8" full length
7" full length
7 1/2" to the second score line
9 7/8" full length
Turn 180 degrees with 10 3/8" across the top and the 1/2" score line that was at the bottom is now at the top.
Score at
2 7/8" to the second score line
7 1/2" to the second score line
Using the diagram, cut and remove the sections as shown. The solid lines are CUT lines and the dotted lines are score lines to FOLD on. Fold on all score lines (dotted lines) inward or valley folds, to create the box.
BEFORE adhering box together decorate each of the panels and lids of the box. Once you have done that you will cut a slit opening for the tea bags to dispense from (see the next directions)
Lay box flat. The center panel that has the lids attached to it (above and below) is the panel you will cut a slit in. Measure up 1/4" from the bottom of that panel and cut a single slit from edge to edge of that panel. Then cut another slit the same way 1/4" above the first slit. Cut on the edges to remove that 1/4" piece of cardstock. Next using a 1/2" - 1" circle punch (whatever size you have) to cut a half circle notch in the upper center of the slit opening.
Now you are ready to adhere the box together. To make it easier cut mitered angles on the edge of each flap. Next add 1/2" double-sided tape, or other adhesive, to the 1/2" tab on the side of the box and attach to the panel at the other end to create the box. Fold in end flaps. Glue the bottom lid and flaps together to seal it.
Optional: Cut one of the left over pieces of cardstock to 2 1/2" x 2 3/4" and glue to the inside bottom of the box to help seal it and make it more stable.
Thanks for stopping by and...
HAPPY CRAFTING!!!


No comments:
Post a Comment